Good day! Are you looking for a reliable way to protect your cupboards from an under‑sink water filter leak? In this guide, we walk through the full unboxing and installation process, step by step, so you can fit an under‑sink leak detector confidently and stop leaks from creating any damage to your property.
Table of Contents
Step 1: Unbox and identify the parts
Start by opening the box and identifying every component. Upon unboxing, you will typically find:
- Leak detector housing (the main unit)
- Sticky felt pad to adhere the unit to the cupboard base
- Small fabric (felt) swell pads — these expand with water and activate the shutoff
- Plastic cap/holder for the felt pad
- A couple of screws and clips
- Optional double joiner (for joining hoses if you already have a filter installed)

Step 2: Choose the correct position in the cupboard
We always locate the lowest point in the cupboard so any escaping water will flow to the detector. A quick tip: drop a little water and watch where it pools. In our example, the water tracked to the back area in front of the filter and T‑piece.
Important note: Identify the pressure limiting valve (if present) and plan to position it in front of the leak detector so the detector can control the water flow to the filter.
Step 3: Prepare the detector base and adhere to the cupboard floor
Peel the backing from the sticky pad and match the patterned cutouts to the detector base. Those grooves allow water to reach the felt capsule when needed.
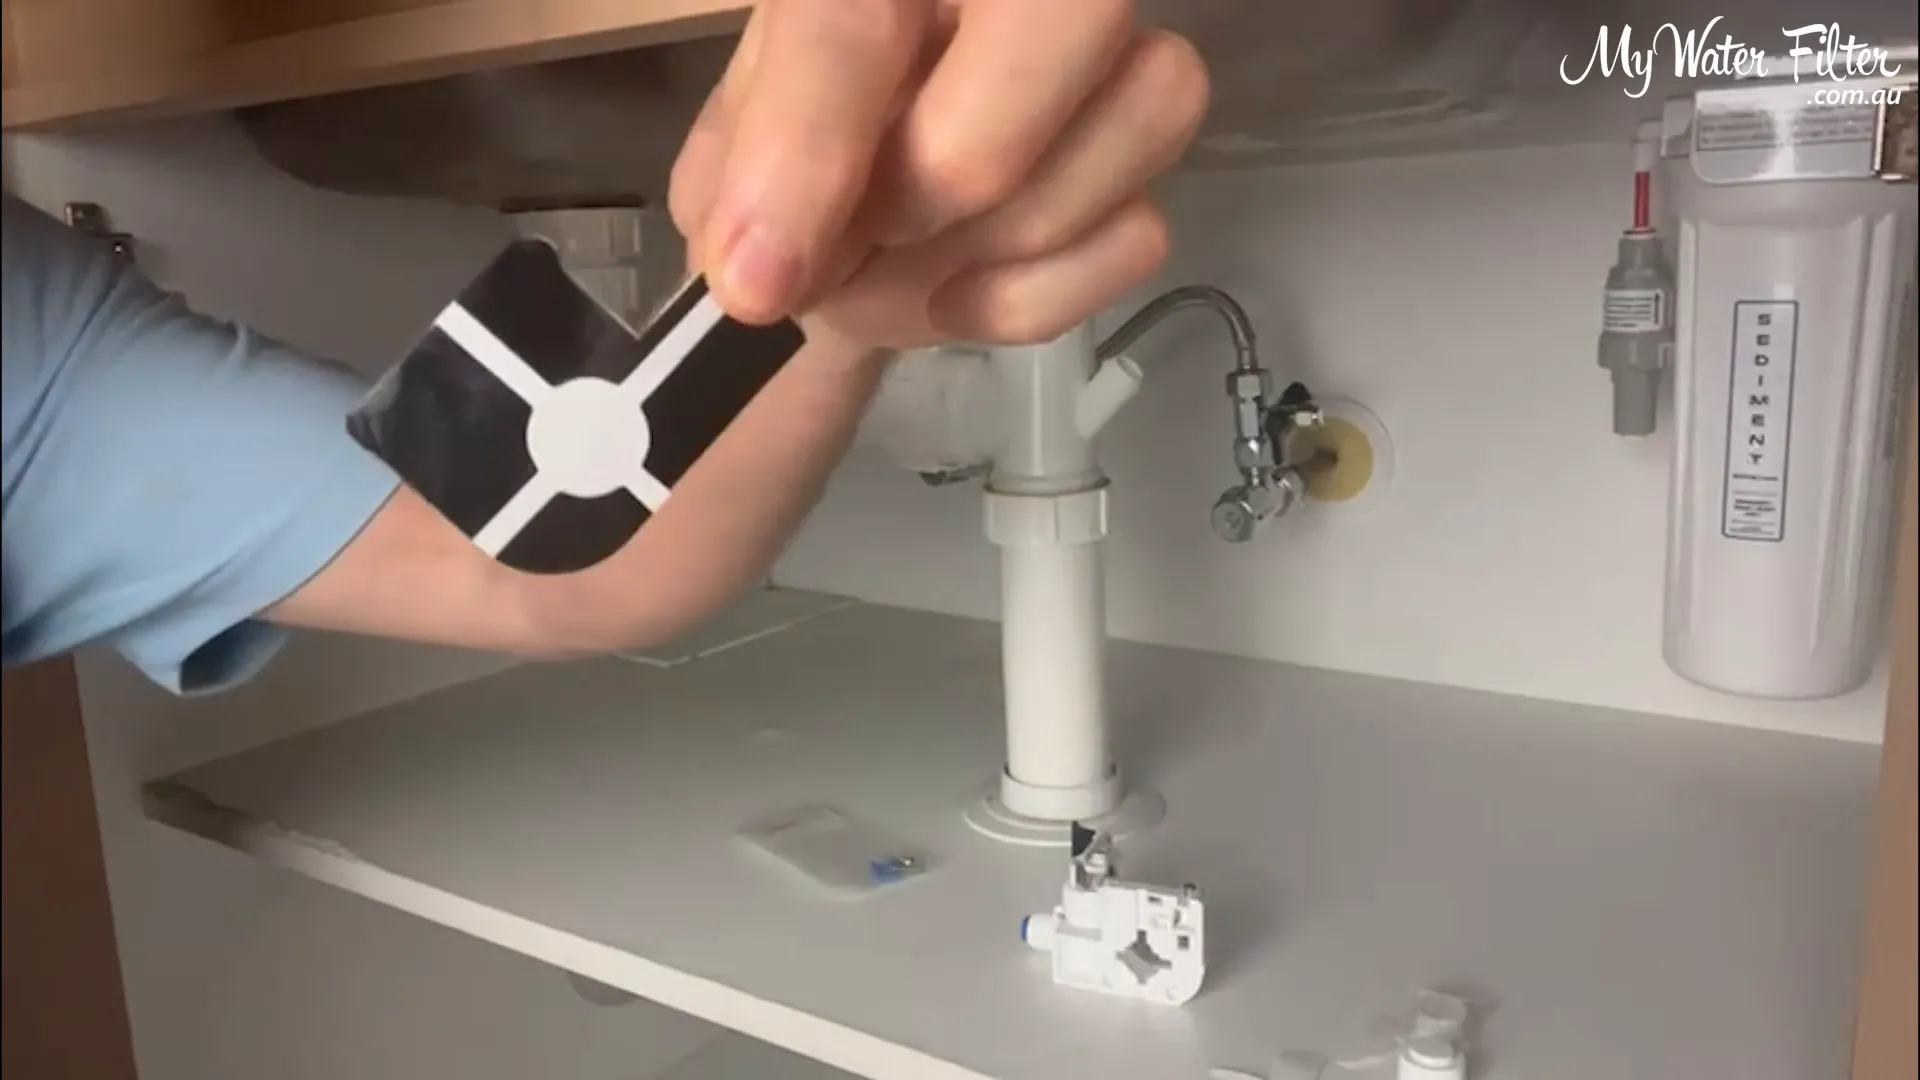


Press the detector into position. Hold with steady pressure for a minute so the adhesive bonds. For a secure installation, drill two pilot holes in the cupboard floor where the unit sits, then fix the included screws into the holes to lock the detector in place.
Step 4: Remove the existing hose from the pressure limiting valve
To reroute plumbing, we remove the pressure limiting valve (PLV) & hose from the water filter inlet. Push in the collar on the quick‑connect fitting and pull the hose out. If you don’t depress the collar, the hose will not release.
Once removed, push that hose & PLV into the inlet on the front of the leak detector. Make sure it seats fully — these fittings need to be pushed in well before locking.

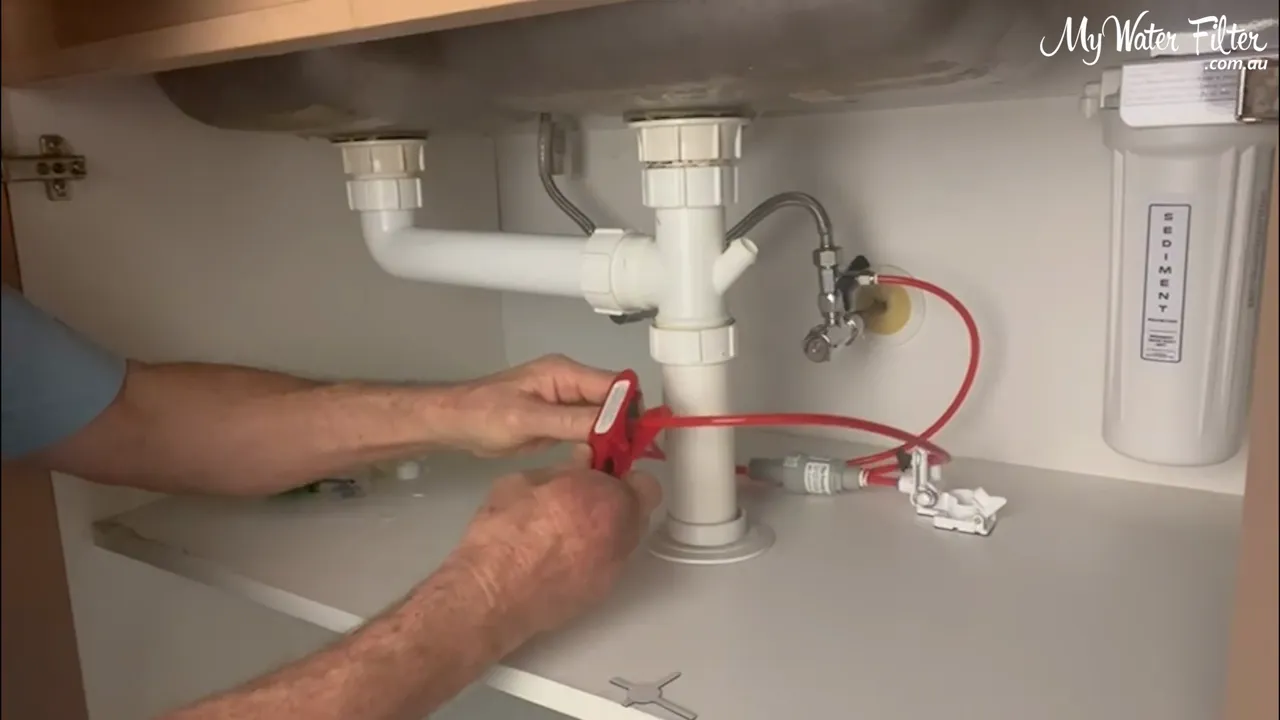
Step 5: Cut and fit new hoses between components
We use a tube cutter for clean, square cuts — this avoids leaks and ensures fittings seat properly. Cut hose lengths so they run relaxed (not kinked or under tension) between the inlet, pressure limiting valve and the filter.
In our setup:
- Water inlet → pressure limiting valve
- Pressure limiting valve → leak detector
- Leak detector → water filter
If you already have an existing water filter setup, the double joiner in the kit can help connect hoses without replacing them.
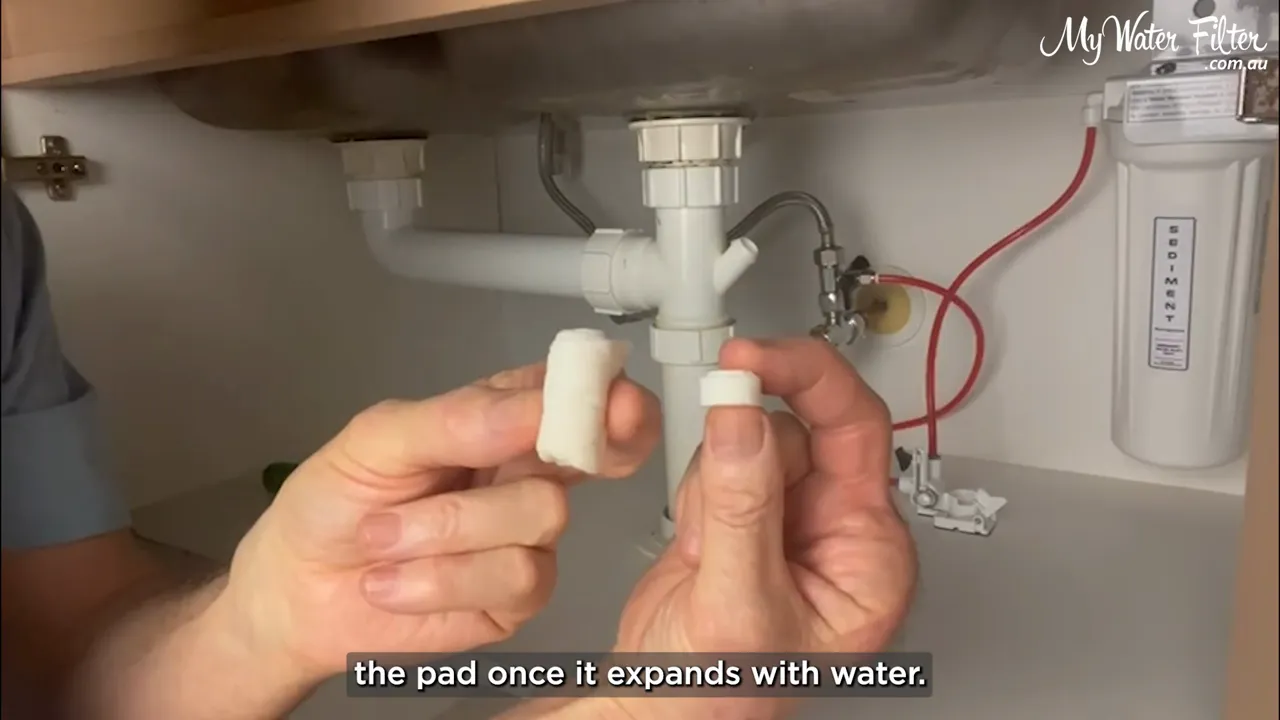
Step 6: Insert the felt pad and cap, then lock the lever
Drop a felt swell pad into the centre of the detector. The pad must sit with the raised piece down and be centered. Place the small plastic cap over the pad to hold it in place. Then pull the lock lever over and push the spring into position — this secures the mechanism so it will flip when the pad expands.


The felt pad is the sensor — when it absorbs water, it swells and physically moves the mechanism to shut the water off.
Step 7: Test the leak detector
Always test the device after installation. Drip a little water onto the cupboard floor near the unit. The felt will absorb the water quickly, swell and push the lever, shutting the water off.
When the device trips, you should see the cap pushed up and the water stopped downstream — no flow will pass through the detector.
Step 8: Final checks and tips
- Ensure hoses are not rubbing on sharp edges and are cut squarely for secure fittings.
- Screw the detector down even if the adhesive seems strong — mechanical fixation prevents displacement.
- Place the detector where water will naturally pool (lowest point) for reliable activation.
- Keep spare felt pads on hand so you can reset the detector quickly after a false trigger or true leak.
Why We Recommend Using a Leak Detector
We recommend using an under‑sink leak detector because it provides automatic mechanical shutoff in the event of a leak — this protects cabinetry, flooring and your water filtration system from water damage.
Conclusion
Fitting an under‑sink leak detector is a straightforward, effective way to protect your filter and cabinetry. Follow the steps above — unbox, find the low spot, mount securely, reroute hoses with neat cuts, drop in the felt pad and test. The device acts quickly, mechanically stopping the water when the pad swells.
We hope this guide helps you install your detector with confidence. If you want to upgrade or replace your filter while installing a leak detector, check out our Ultrapure under‑sink and benchtop options and cartridge packs listed below to find the best match for your setup. Thank you!
This guide provides a step-by-step process for installing an under-sink leak detector, a mechanical device designed to automatically shut off water flow to a water filter during a leak, thereby preventing damage to your cupboards and flooring.
The installation involves correctly positioning the detector at the lowest point in the cupboard, securing it and rerouting the water filter hoses through the device's inlet and outlet ports.
The detector operates using a special felt pad that swells when it absorbs water, which mechanically triggers a lever to stop the water supply. It is crucial to test the device after installation to ensure it is functioning correctly.
Hear from Our Satisfied Customers
Will the Detector Fit Any Under‑Sink Water filter?
This leak detector uses standard ¼” push‑fit hose connections and works with most benchtop and under‑sink systems that use similar tubing. If your current installation uses non‑standard fittings, you may need an adaptor or the double joiner included in the kit.
Does the Detector Require Power or Batteries?
No — this is a mechanical device. The felt pad swells with water and mechanically flips the lever to shut the flow.
How Often Should the Felt Pad be Replaced?
Replace the pad whenever it has been activated (i.e., after a leak) and check periodically for dust or contamination that could reduce responsiveness. Keep spare pads available.
Will a Small Spill Trigger the Detector?
Yes — the detector is designed to react quickly to water. If you expect routine small splashes in the cupboard, place the detector slightly away from those areas or use a protective tray to prevent nuisance drips.
Where Can We Buy Compatible Under-Sink Filters and Replacement Parts?
We offer a range of compatible Ultrapure under‑sink and benchtop systems and replacement cartridge packs, which you can find here:

![[VIDEO] What tools you require to install your Under Sink My Water Filter product](https://cdn.shopify.com/s/files/1/0455/8071/4143/files/0b756bb31c97ac5dc1ca8f333ef3bcba_600x_78317372-aed6-456f-bc49-aa6efa9b8be6_550x.jpg?v=1759824556)