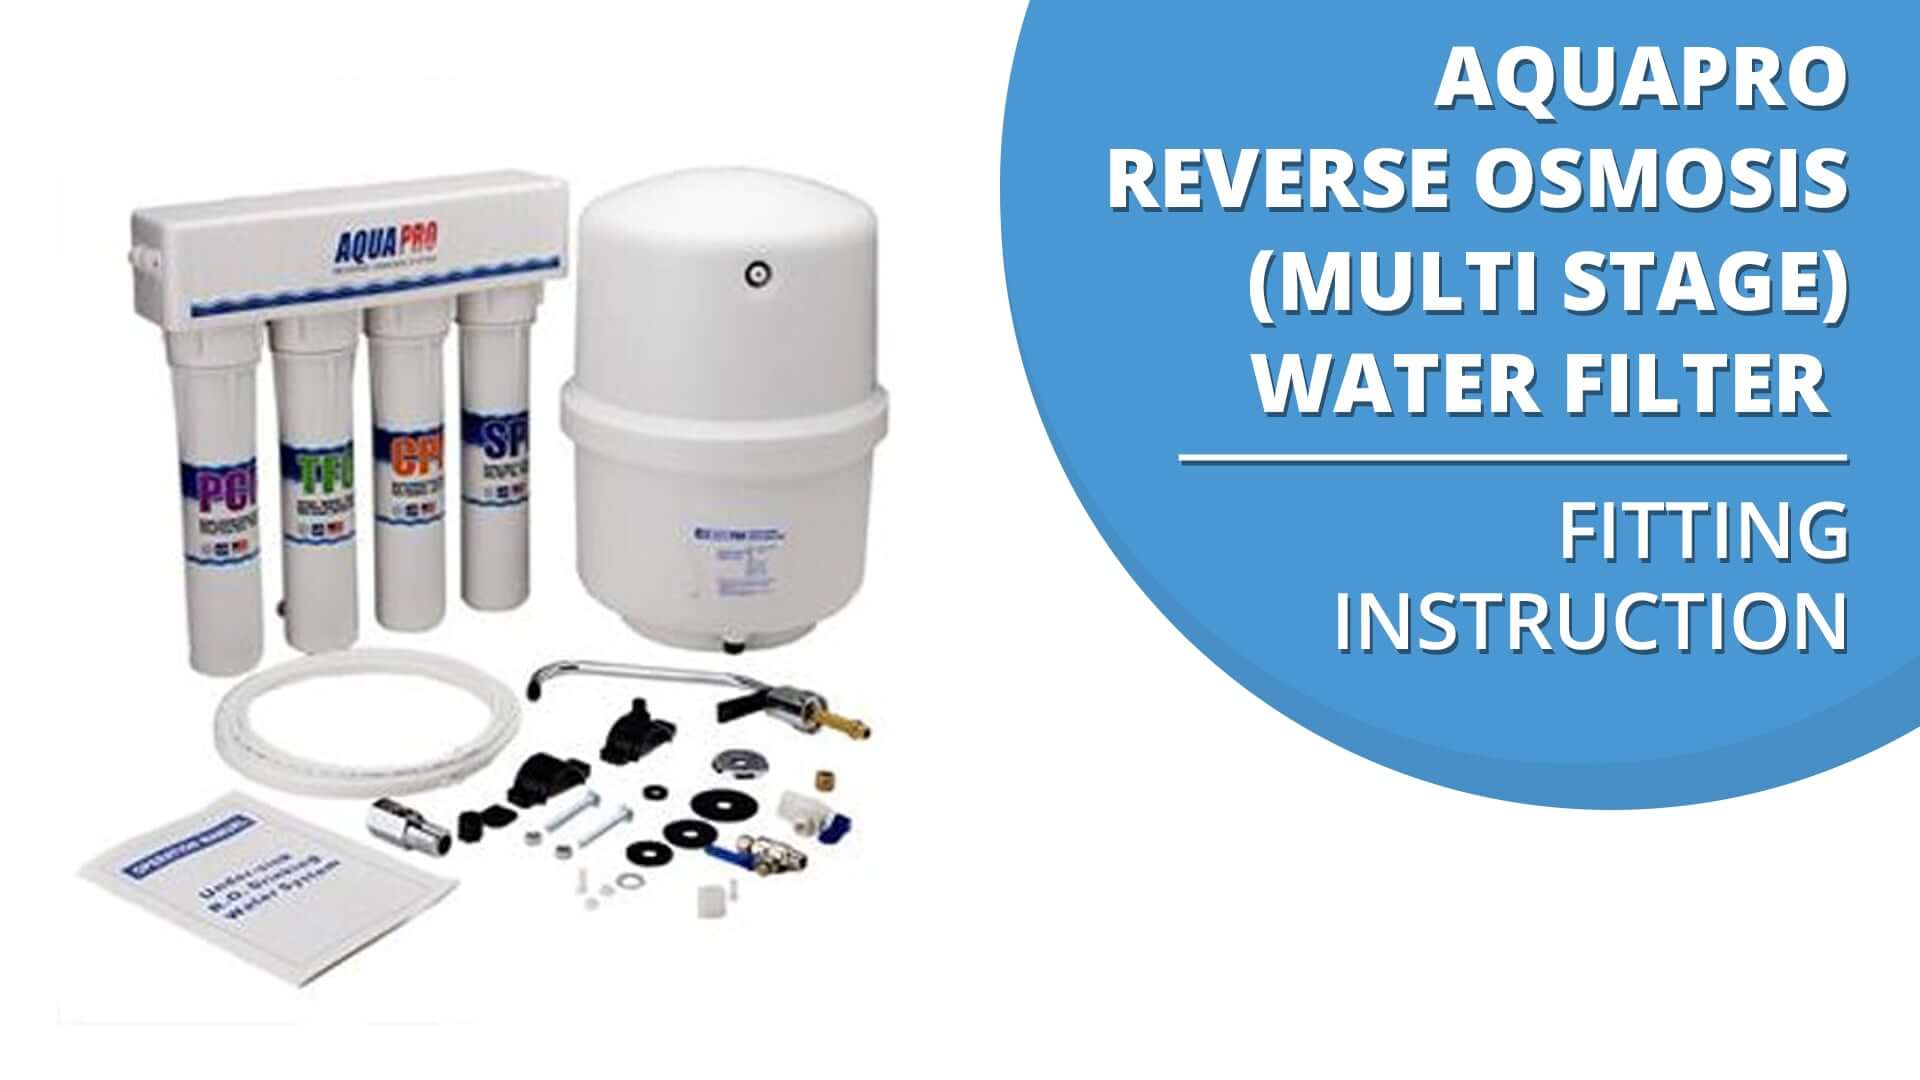
Aquapro Reverse Osmosis System Installation
WARNING:
For the correct operation of this appliance, it is essential to observe the manufacturer’s instructions. This system is not UV resistant. Install only out of direct sunlight.
This system must be mounted in a vertical position and must be positioned to allow access for service and filter cartridge changing. At the same time, the assembly should be relatively near the faucet to maximise the flow rate. The storage tank can be placed on its side without affecting the performance of the system. If there is insufficient room under the sink, the tank may be located in an adjacent cupboard.
Installation of Water Supply Connector
NB. Any connection put into a mains supply should be done by a licensed plumber.
- Turn off the main water supply.
- Make sure you are connecting up to the cold water.
- Assemble the Mains Connector by screwing the ¼” male x ¼” compression Ball Valve into the side of the Water Supply Connector using 3 to 4 wraps of Teflon tape. To install the Mains Connector, 1/2" male x 1/2" female, simply disconnect the cold water line from angle stop or from faucet stud. Complete with cone-washer and seal.
- Disconnect the water supply line from the cold water faucet underneath the sink or from the washing machine.
- Attach and tighten Mains Connector assembly being careful not to pinch or crimp any tubing or water supply line while tightening.
Installation of Faucet
- Using a small drill bit, drill a pilot hole.
- Then using a 3/8" drill bit, drill a hole through the base metal. Operate the drill slowly and carefully, especially when the drill is about to penetrate the metal. If necessary use a drop or two of oil in the hole.
- Mount the Faucet in the hole and using an adjustable wrench (or hand) to hold the Faucet, tighten the 9/16" nut.
Installation of Drain Saddle
The Drain Saddle should be installed above the s-trap on the vertical or horizontal tailpiece.
- Drill a 1/4" hole into the drainpipe observing the above position.
- Mount Drain Saddle aligning holes. (Drill bit may be left in saddle hole for alignment)
- Carefully tighten both screws on the drain saddle until snug. Do not overtighten.
Installation of Storage Tank
Hand tighten plastic Isolation Valve to Tank (Firm but not over tight).
Standard Tanks should come from the factory with 8 to 10psi of air when measured empty. Larger Tanks should measure around 20psi.
Mounting the Purification System
- Mark screw locations at the desired positions. Use the two holes on the back of the purification assembly mounting bracket for marker guides.
- Drill a suitably sized hole to insert the Wall Plugs supplied with the unit.
- Insert Wall plugs and screws.
- Leave screw heads out a little.
- Mount Purification System onto screws.
Connecting the Tubing
- Connect tubing from the Mains Connector to the Housing inlet.
- Connect tubing from the Postfilter to the Faucet.
- Following installation procedure on the Faucet Carton Connect tubing from the Membrane rejects outlet to the Drain Saddle. Pushing approximately 30cm into the drain.
- Connect tubing from the Tee piece on the Postfilter to the Tank.
NB: When using Jaco style fittings, place nut over the tube, put the insert into the tube, then tighten the nut to fitting.
Start Up Procedure
- Flush Carbon Fines from Chemical Filter. See Appendix (i)
- Flush preserving agent from Membrane. See Appendix (ii)
- Flush Tanks & Postfilter. See Appendix (iii)
- Turn off Faucet and allow Tank to fill.
- Check for leaks.
Appendix (i)
- Make sure Mains Connector is off.
- Isolate Tank by turning Tank Valve off.
- Depressurise system by opening the Faucet and allowing water to drain out.
- Remove Tube from chemical removal sump, connect elbow to spare Tube.
- Turn Mains Connector on and allow water to flow through the sumps (Dirt & Sediment and Chemical) to drain for 10 to 20 minutes. This process will flush any carbon fines from the Carbon filter.
- Turn Mains Connector off and reconnect Tube from the Shut Off Valve to the Chemical Removal Sump.
Appendix (ii)
- Make sure Mains Connector is off.
- Isolate tank by turning Tank Valve off.
- Depressurise system by opening the Faucet and allowing water to drain out.
- Insert new Membrane. The end with the two small "O" rings goes into the cap.
- Depending on the brand of membrane you’re using, you may need to turn the brine seal around by unwrapping the tape and replacing it in the correct position. Push firmly.
- To speed up the process, remove the elbow with the flow restrictor from the Membrane housing, connect a spare elbow (If you have one) directly to drain, turn Mains Connector on and allow Membrane to flush directly to drain for 20 to 30 minutes. This process will flush the preserving agent from the Membrane.
- Turn Mains Connector off and reconnect the Payne type flow restrictor to the waste water elbow on the Membrane Housing.
Appendix (iii)
- Make sure the Faucet is closed and the Tank isolation valve is open.
- Turn Mains Connector on and allow the tank to fill (this generally takes 2 to 3 hours).
- Then, open the Faucet and allow the whole Tank to empty.
- Repeat this step 2 or 3 times.
This process will flush the post filter.
Filter And Membrane Changing Procedures
All three filters should be changed every 12 months or 8 000 Litres. The Membrane should be changed every 3-5 years (dependant on TDS). Not changing your Filters regularly can cause bacteria to grow and contaminate the water.
Sediment and Carbon Prefilters
See Appendix (i) of Start Up Procedure.
Carbon Postfilter
Change filter.
Use water stored in the tank to flush out any carbon fines.
R.O. Membrane
- Make sure Mains Connector is off.
- Isolate Tank by turning Tank Valve off.
- Depressurise system by opening the Faucet and allowing water to drain out.
- Remove tubing from Membrane Housing base.
- Unscrew sump and allow water to drain from Housing.
- Remove the old Membrane and if necessary sanitise the Housing (follow Sanitising Procedure).
- Replace with new Membrane and follow Start Up Procedure Appendix (ii).
Caution For Your Safety
Change Filters regularly every 6 to 12 months and have the Membrane and System checked annually by a Licensed Plumber.
Automatic icemakers require water in the line to work properly. If you are draining the Tank or have no water during initial start up turn off the Icemaker until the Faucet has a steady flow. Use only cartridges suitable for this appliance.
Empty Tank and flush system for 30 minutes after a period of non-use exceeding 30 days. Membranes should be refrigerated if not used for longer periods of time.
Recommended Sanitising Procedure
The best time to sanitise is when changing all the Filters and/or when changing the Membrane. It is recommended to sanitise the whole RO systems a minimum of once a year.
- Shut off Mains Connector valve.
- Drain all water out of R.O. Tank.
- Remove Prefilters and Membrane even if not replacing.
- Reassemble Membrane Housing without Membrane inside.
- We recommend you use Micropur to disinfect your system. Add Micropur into each of the empty pre filter Housings. Recommended dosage is 10mL per 10L.
- Reassemble pre-filter Housings without Filters.
- Turn Mains Connector back on to about 30% of maximum flow rate and let Tank slowly fill with tap water (approximately 10 minutes).
- Shut off Mains Connector.
- Let entire system sit for about 2 hours to thoroughly sanitise.
- Open Faucet and let Tank drain until empty.
- Shut off Faucet when empty.
- Turn on Mains Connector.
- Allow Tank to fill with water.
- Again, turn off the Mains Connector and drain the Tank.
- With the Mains Connector off, install the new Filters and/or Membrane. This is when you will change the Postfilter also.
- Then follow normal system start-up procedures.
Troubleshooting
|
PROBLEM |
CAUSE |
SOLUTION |
|
Cloudy ice cubes or milky coloured water. |
Bad membrane |
Replace Membrane and sanitise when below 75% rejection |
|
Water supply |
High oxygen content |
|
|
Some refrigerators freeze differently, leaving the ice cube looking cloudy. Let cube dissolve in glass of water. If just air, will float to surface and dissipate |
||
|
System is still new |
This is normal and should clear up in two weeks |
|
|
Noisy drain or faucet. (Air gap faucets only) |
Air gap faucet. |
A little noise is common with air gap faucets. Allow two weeks for air to work out of the system. |
|
Drain tube. |
Check that drain tube from faucet is continously down hill to drain. Loops or dips will cause noise. |
|
|
Filter Housing Leak |
O-Ring not sealed properly. |
If damage, replace. If dirty, clean, lubricate and re-tighten filter housing. Hand tighten firmly. |
|
Hole on faucet is leaking |
Drain clamp slipped. |
Align hole in drain clamp with hole drainpipe. |
|
Drain tube loops or dips. |
Shorten drain tube from faucet until smooth down hill flow to drain. |
|
|
Restriction in drain tube |
Disconnect drain tube and clean out restriction. (Food particles from garbage disposal). |
|
|
Restriction in faucet holes. |
The drain hole in the base and on the rear of the faucet must both be clear and unrestricted. Clean as necessary. |
|
|
Water does not taste or smell right |
Bad membrane. |
Replace membrane when below 75% rejection and sanitise. |
|
Filters have expired. |
Replace filters. Should be replaced every 6 to 12 months. |
|
|
Little water use. |
Drain entire tank. Should be done every 2 weeks. |
|
|
System needs sanitising. |
Sanitise (see Sanitising Instructions) and replace filters. |
|
|
Little water from faucet. |
Over pressurised tank. |
When empty, tank pressure should be beetwen 5 - 12 psi. |
|
Incoming water pressure is below 40 psi. |
Increase pressure to 40 psi. |
|
|
System takes 6 to 10 hours to completely fill. |
||
|
Bad check valve |
Replace check valve. |
|
|
Tank valve not open. |
Open valve. |
|
|
Bad storage tank. |
Faulty diaphtagm check that tank air pressure is beetwen 5 -12 psi when empty. Press Air valve; if water comes out diaphragm is faulty, replace tank. |
|
|
Faulty pressure valve, replace valve only. |
||
|
Filters clogged. |
Replace filters. |
|
|
Kinked tube |
Un-kink tube. If damaged, replace tube. |
|
|
System is continually running. |
Shut off valve not working. |
Replace shut off valve. |
|
Bad check valve. |
Replace check valve. |
|
|
Low water pressure. |
Increase water pressure to 40 psi. |
|
|
System is new. |
Allow 2 weeks for air to bleed. |
|
|
Produces water slowly. |
Normal R.O. Process |
Your R.O. system makes water a drop at a time. 3 gallons storage tank should be full in 6 - 10 hours. |
|
Low water pressure. |
Increase to 50 psi. Check for kinked tubes. |
|
|
Filters plugged. |
Replace filters. |
|
|
Fouled membrane. |
Replace membrane. |
System Limitations
Pressure: 100psi max 40psi min
Flow Rate: 3Lpm max 1.5Lpm min
Temperature: 38°C max 5°C min
Total Dissolved Solids: 500ppm max