Good day, folks! Rod from My Water Filter here today. In this guide, we will walk you through the step-by-step process of installing and flushing your Doulton Ultracarb Twin Benchtop Water Filter with Sediment Protection, ensuring that you enjoy clean and great-tasting water in no time.
Table of Contents
- Introduction to the Doulton Ultracarb Water Filter
- Unboxing Your Water Filter
- Initial Inspection of the Filter
- Preparing the Workspace
- Minimal Tools Required
- Removing the Pre-Filter Cartridge
- Inspecting the Doulton Ultracarb Cartridge
- Reassembling the Filter Housing
- Connecting the Filter to the Tap
- Flushing the Water Filter
- Final Steps and Maintenance Tips
- Frequently Asked Questions
Introduction to the Doulton Ultracarb Water Filter
In this video, learn how to easily install and flush the Doulton Ultracarb Twin Benchtop Water Filter with Sediment Protection. Follow these simple steps for ensuring your system is set up correctly and ready to deliver fresh, purified water straight from the tap.
The Doulton Ultracarb Water Filter is designed to provide superior filtration for your drinking water. This advanced system combines ceramic filtration with activated carbon, effectively removing contaminants while preserving essential minerals. With a lifespan of up to 12 months, it ensures you have access to clean, great-tasting water year-round.
One of the standout features of the Doulton Ultracarb is its ability to reduce chlorine, sediment, and other impurities. This makes it an excellent choice for households seeking to improve their water quality. The filter is particularly beneficial for those on town water supply, as it addresses common contaminants associated with municipal water treatment processes.
Unboxing Your Water Filter
Upon receiving your Doulton Ultracarb Water Filter, the first step is to unbox it carefully. Ensure you have a clean, spacious area to work in, preferably on a countertop or table. Open the package and take out all components, which includes the filter unit, cartridges, and installation parts.
As you unpack, check for any visible damage. This is crucial, as any defects may affect the filter's performance. If you notice anything unusual, reach out to our customer support immediately.
Initial Inspection of the Filter
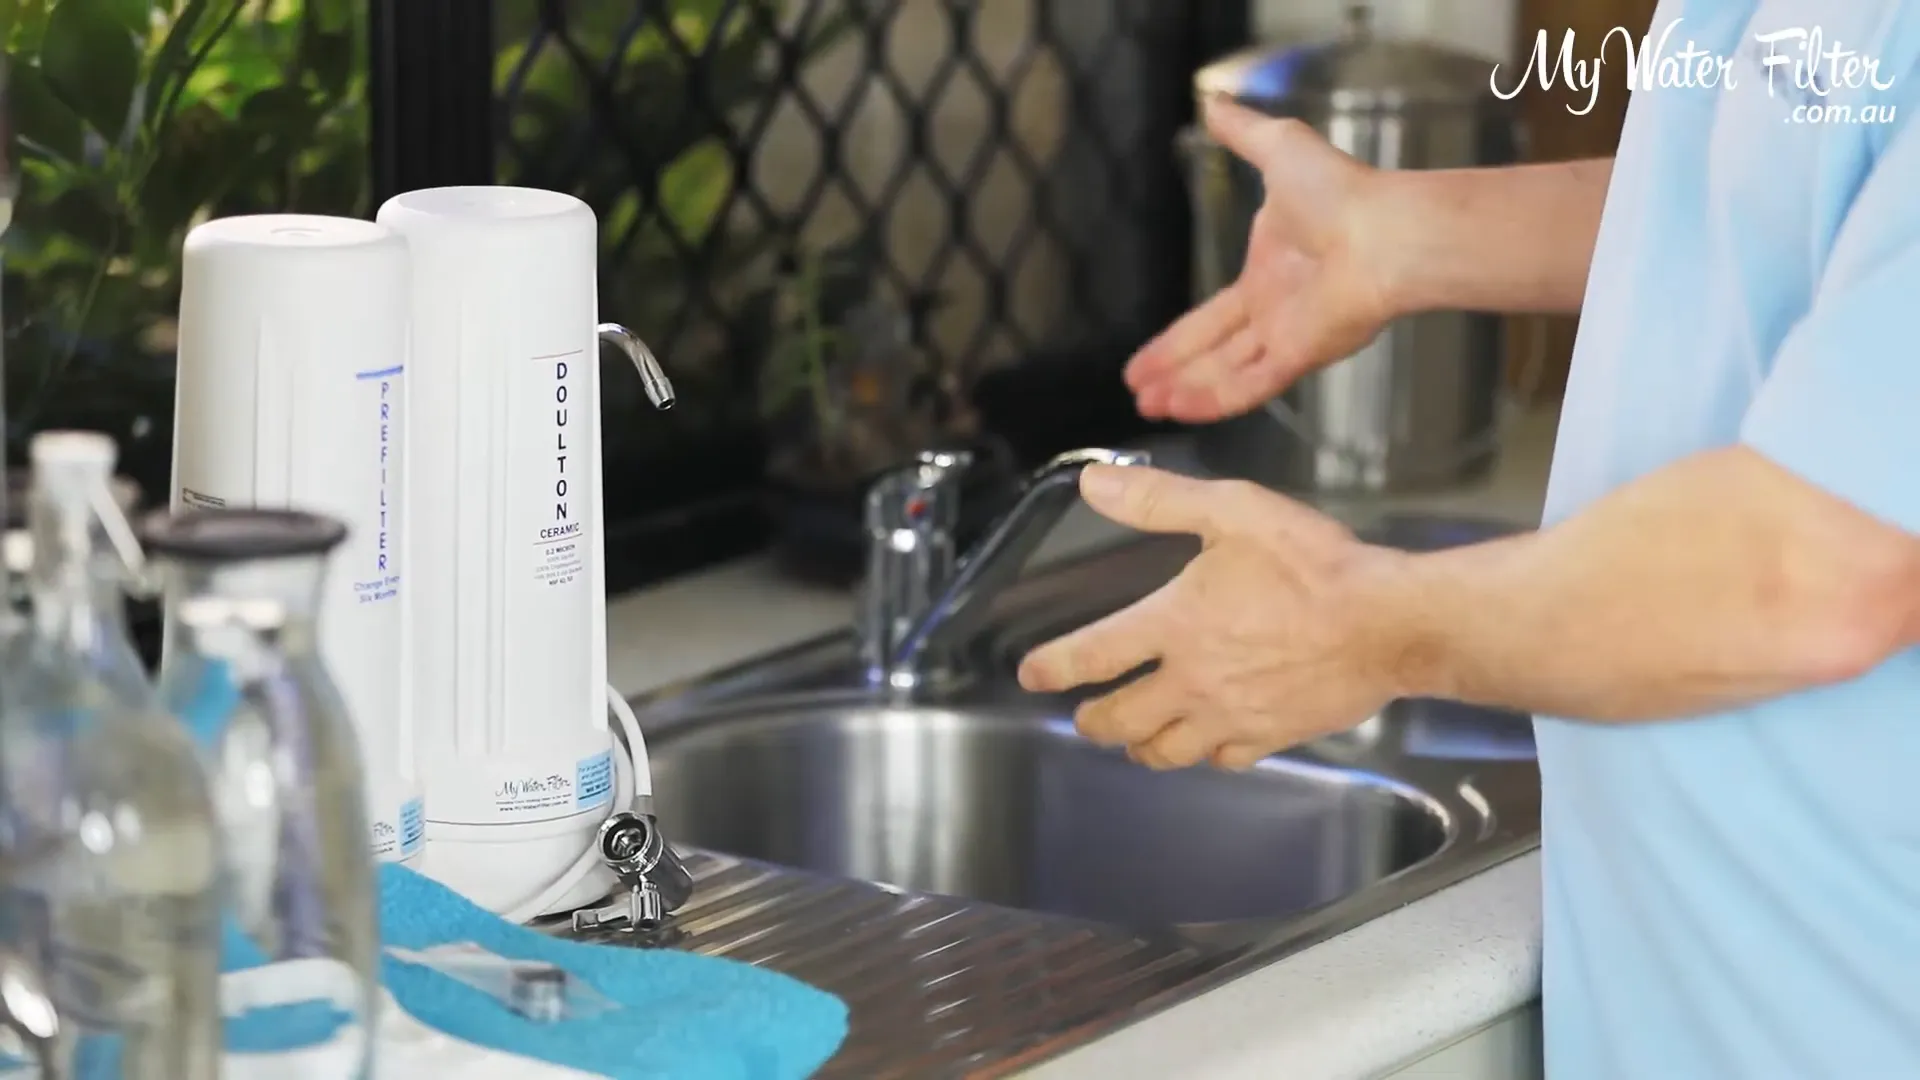
Once unboxed, conduct a thorough inspection of the Doulton Ultracarb system. Begin by examining the main body of the filter for any cracks or dents. Next, inspect the cartridges, especially the Doulton Ultracarb cartridge itself, as it is the core of the filtration process.
Look for any visible signs of damage, such as chips or cracks on the ceramic casing. If you observe any issues, take a moment to photograph them and report your findings to us.
Preparing the Workspace
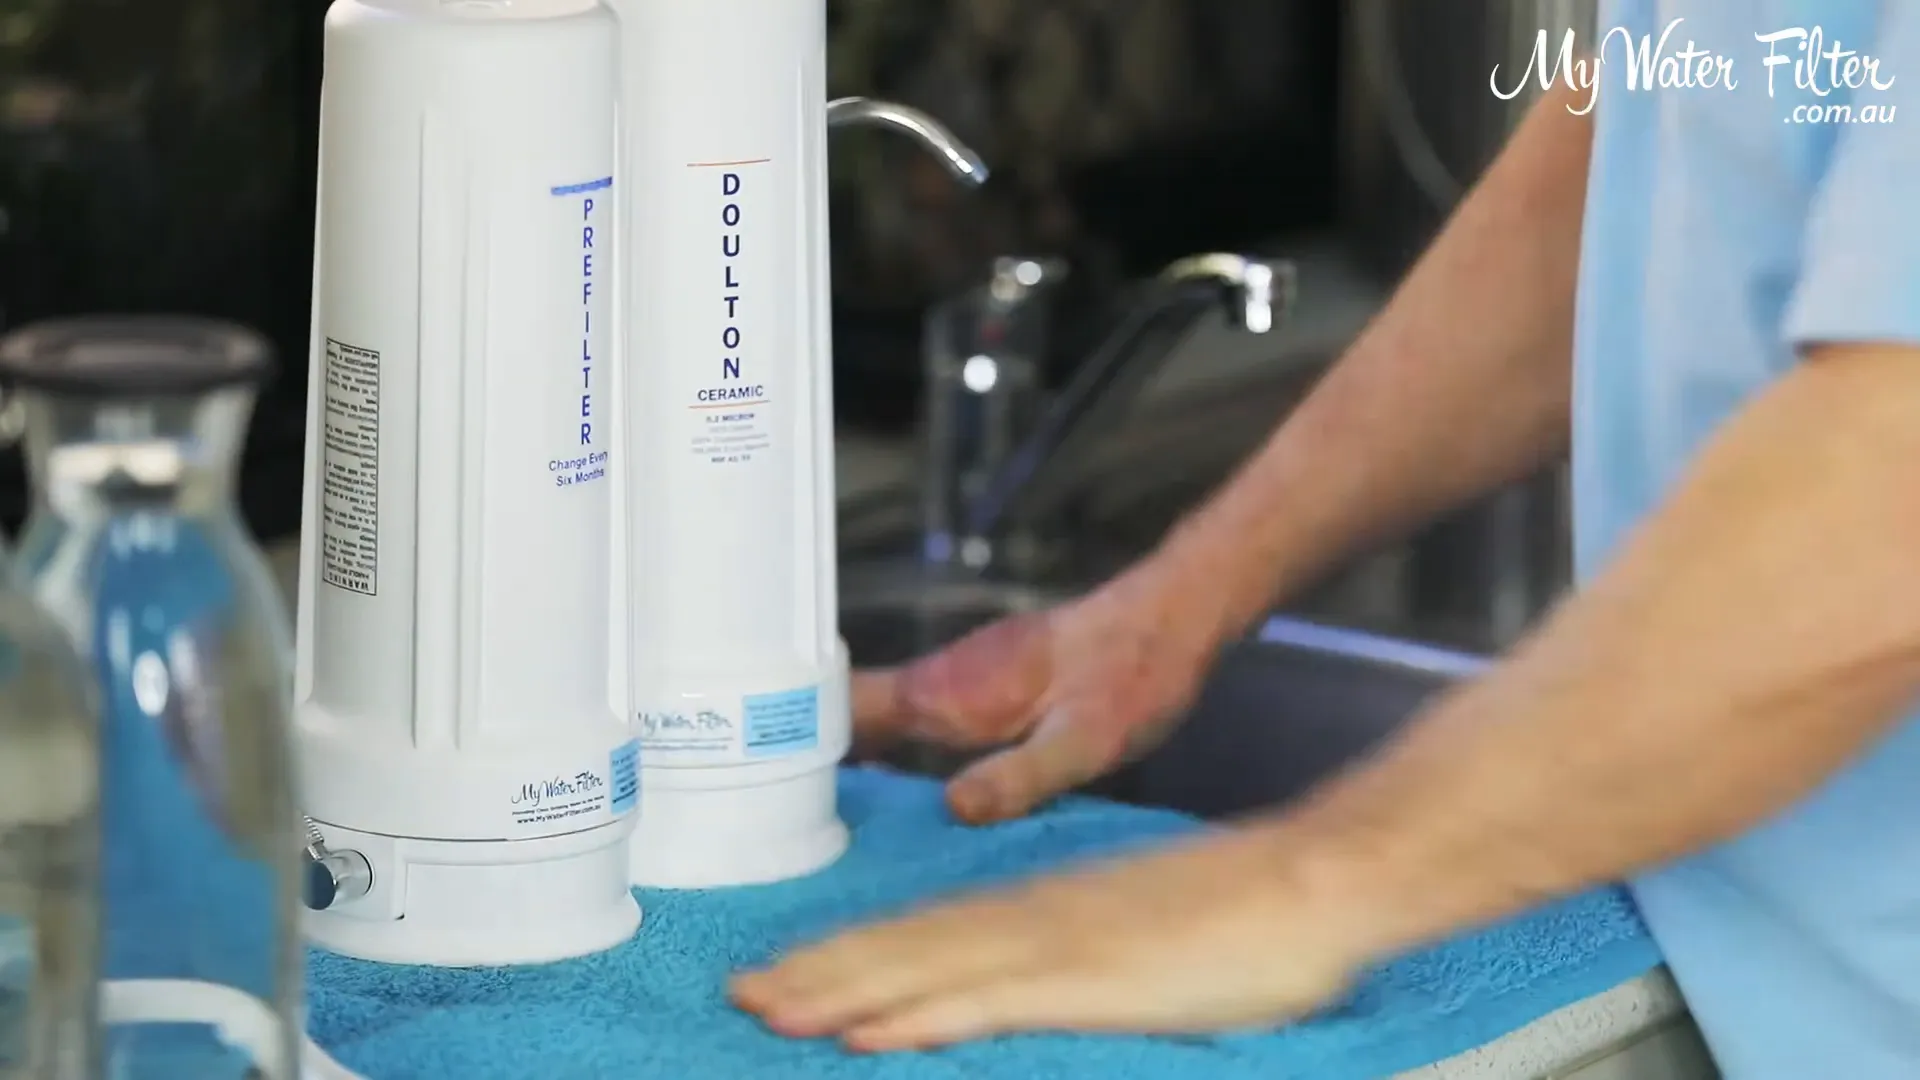
Before installation, it is vital to prepare your workspace adequately. Clear the area of any clutter, ensuring that you have ample room to manoeuvre. Rod always suggests to lay down a towel or tea towel on the countertop to provide a padded surface. This will help prevent any accidental damage to the filter or your countertop during installation.
Gather all necessary tools, including a wrench or pliers, and ensure you have a clean bucket or container nearby for any water that may spill during the process. A well-prepared workspace will streamline the installation and make the experience more efficient.
Minimal Tools Required
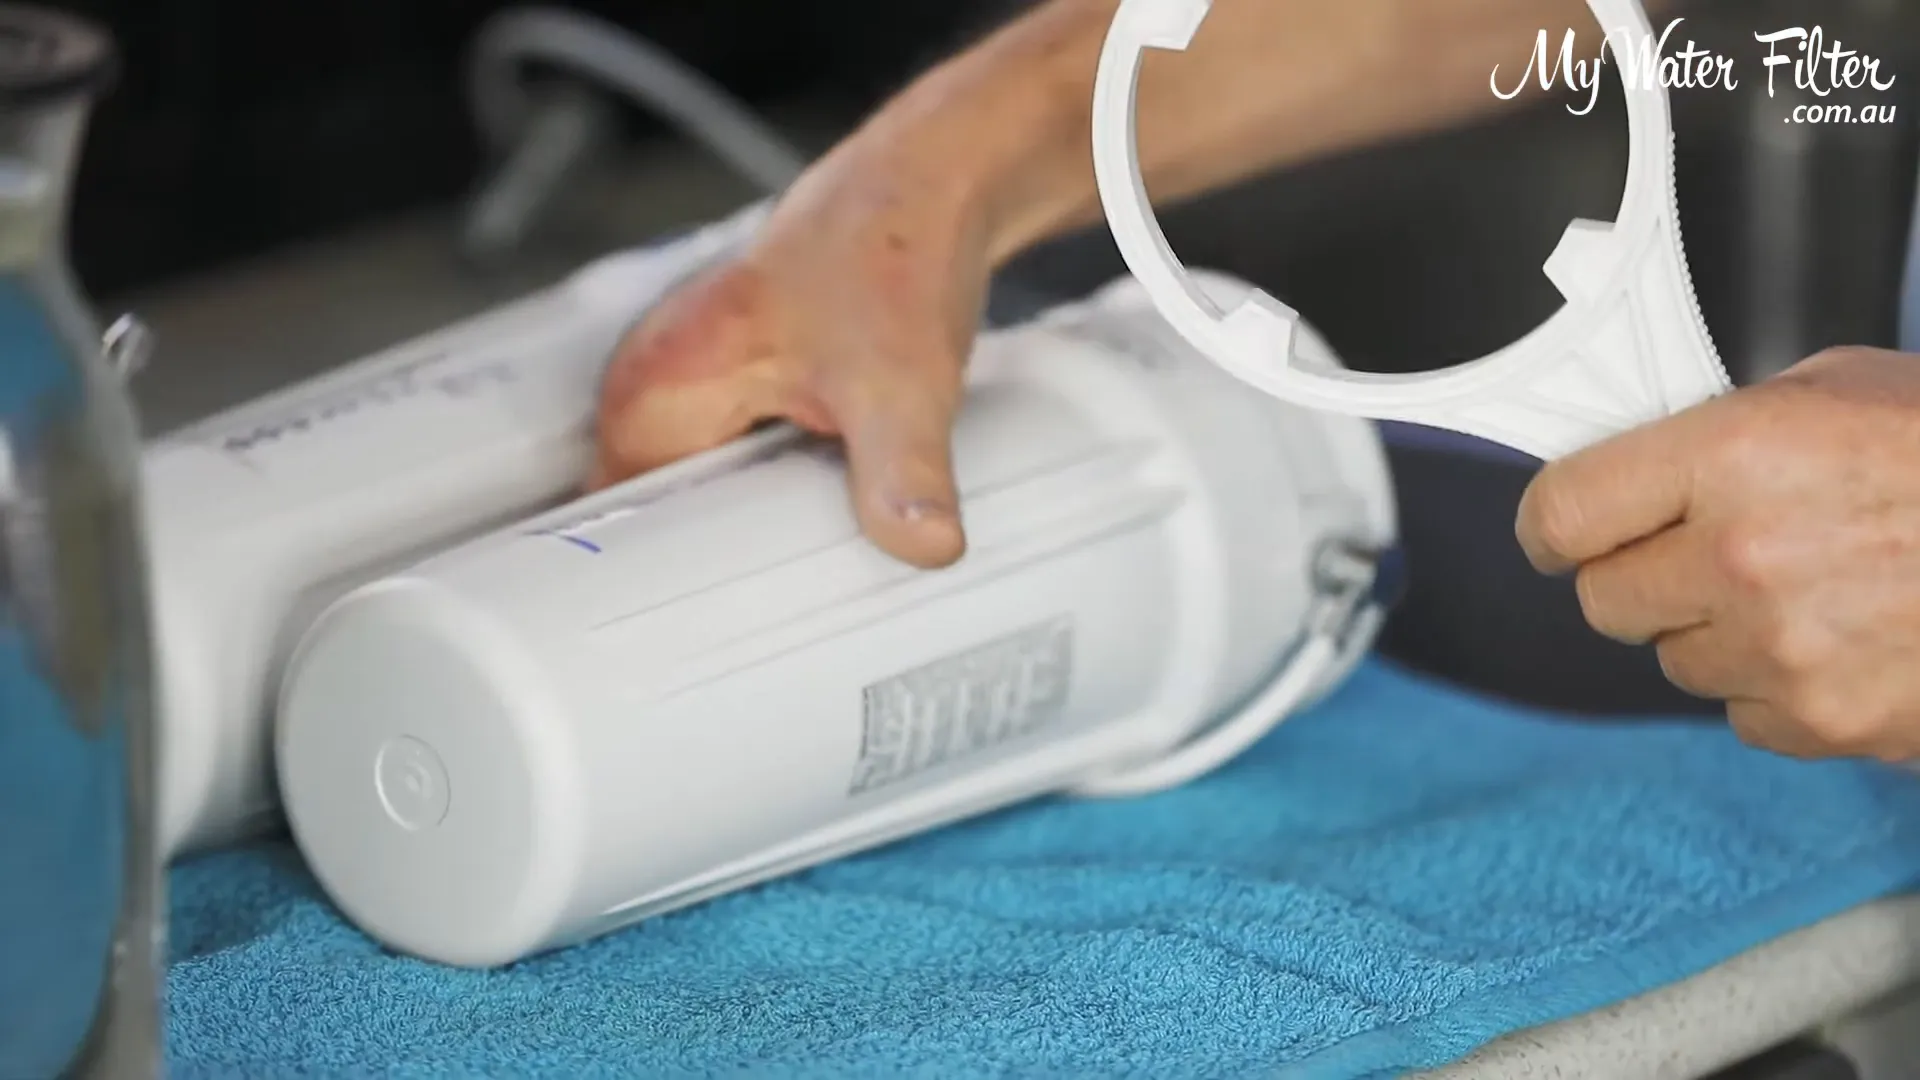
The Doulton Ultracarb Water Filter installation only requires a housing removal tool for tightening connections and possibly some thread tape to ensure a watertight seal.
The housing removal tool will aid in loosening or tightening the filter housing, while thread tape can be wrapped around threaded connections to prevent leaks.
Removing the Sediment Cartridge
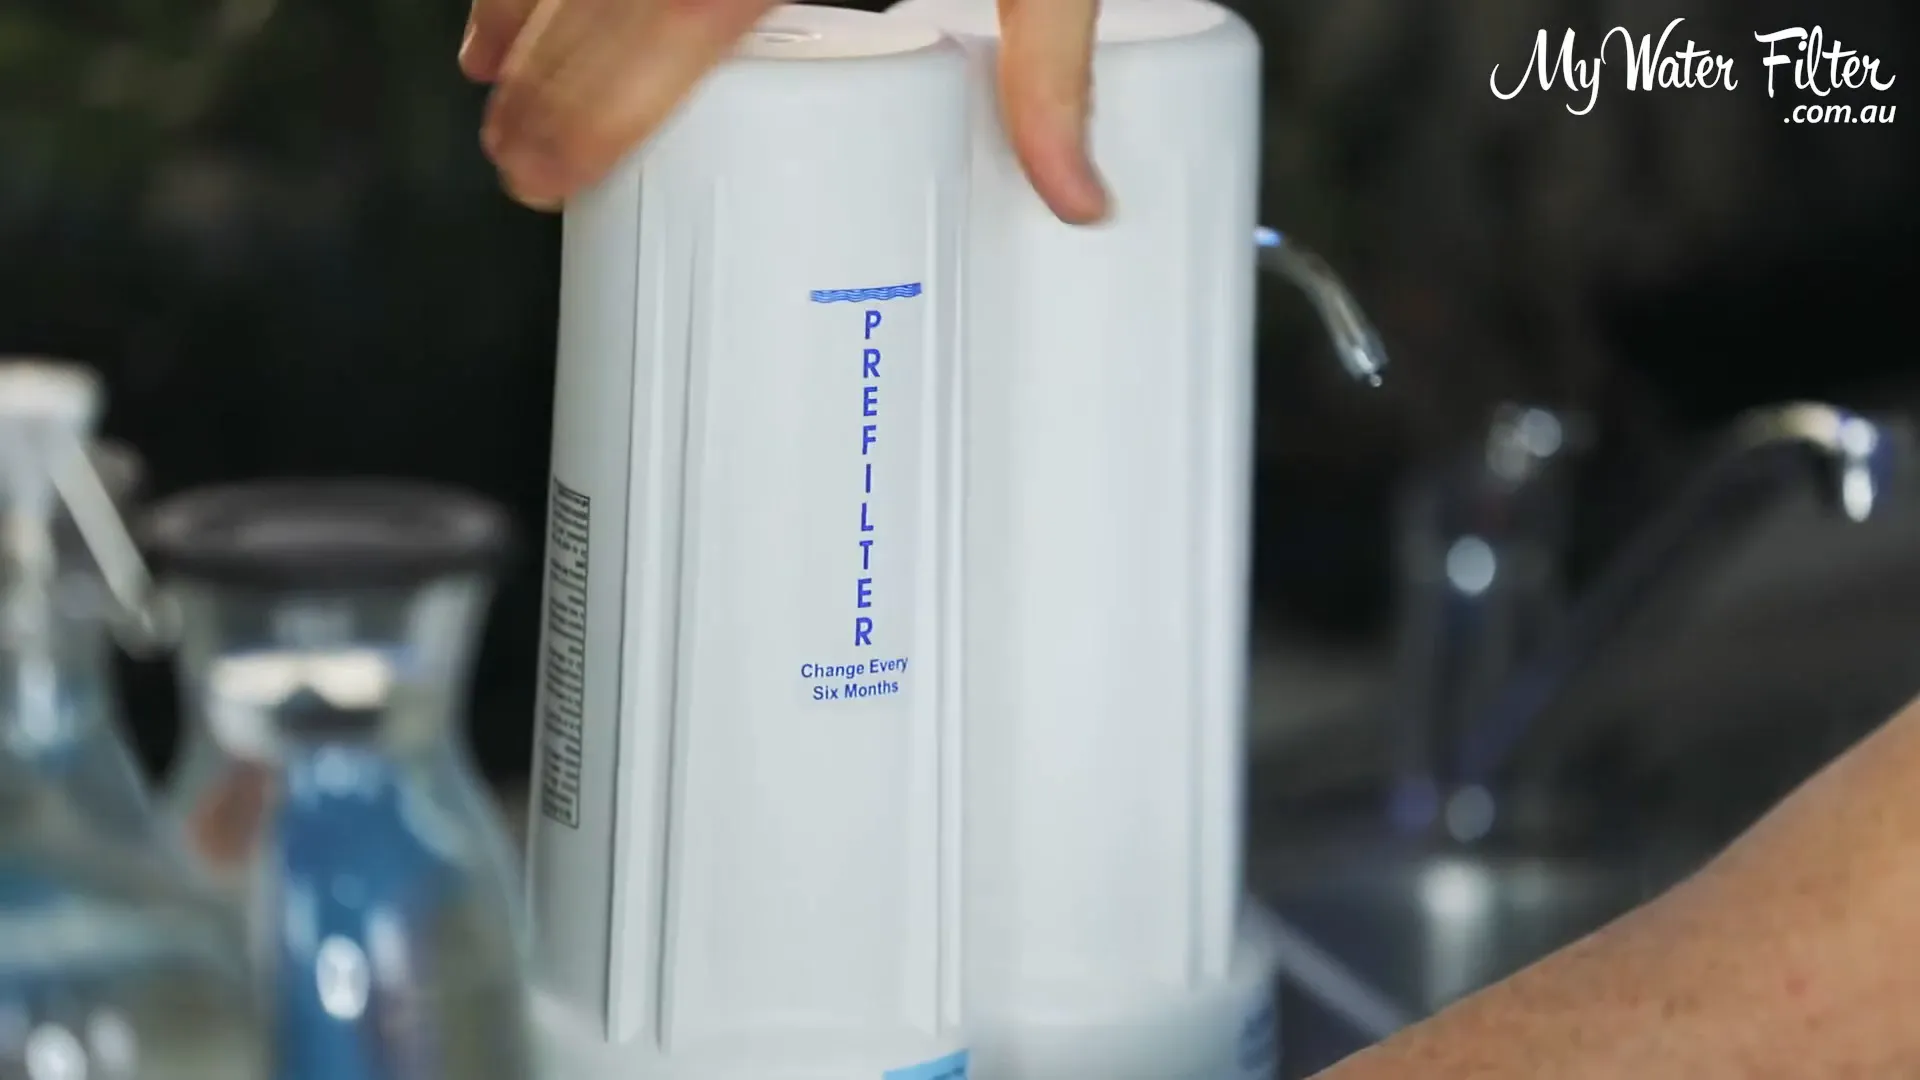
To initiate the installation process, you will first need to remove the sediment cartridge. This step is crucial as it allows you to inspect the cartridge for any damage before proceeding with the installation. Use the housing removal tool to loosen the housing, turning it counterclockwise. Be cautious not to apply excessive force, as this could damage the components.
Once loosened, gently remove the sediment cartridge and examine it closely. Ensure that there are no visible damages, such as cracks or tears. If everything appears satisfactory, you can proceed to reinsert the cartridge into the housing before moving on to the next steps of the installation.
Inspecting the Doulton Ultracarb Cartridge
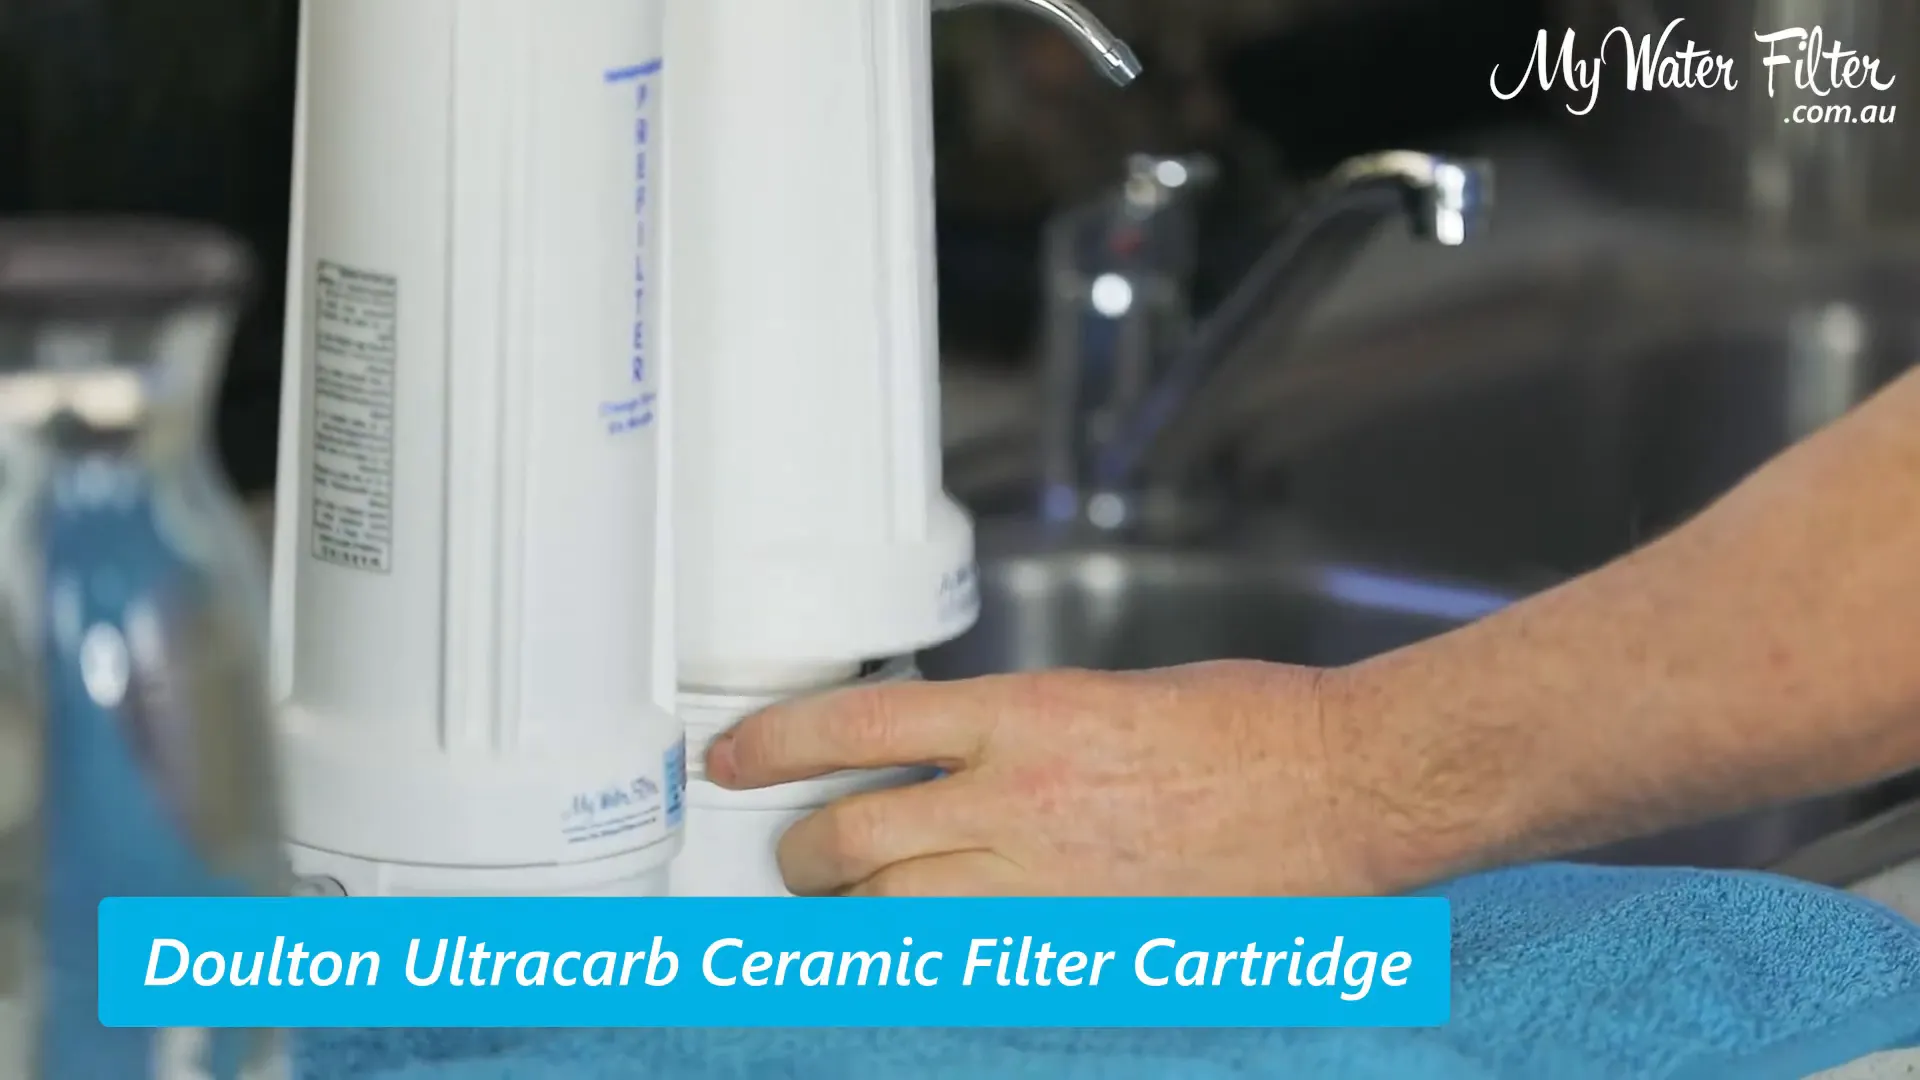
After securing the filter housing, it is essential to inspect the Doulton Ultracarb cartridge. This component is the heart of the filtration system and requires careful handling to avoid any damage.
Begin by gently removing the cartridge from its housing. It is advisable to wear gloves during this process to prevent any oils or contaminants from your hands from affecting the ceramic material. Once removed, examine the cartridge closely for any visible cracks or chips that may have occurred during transit.
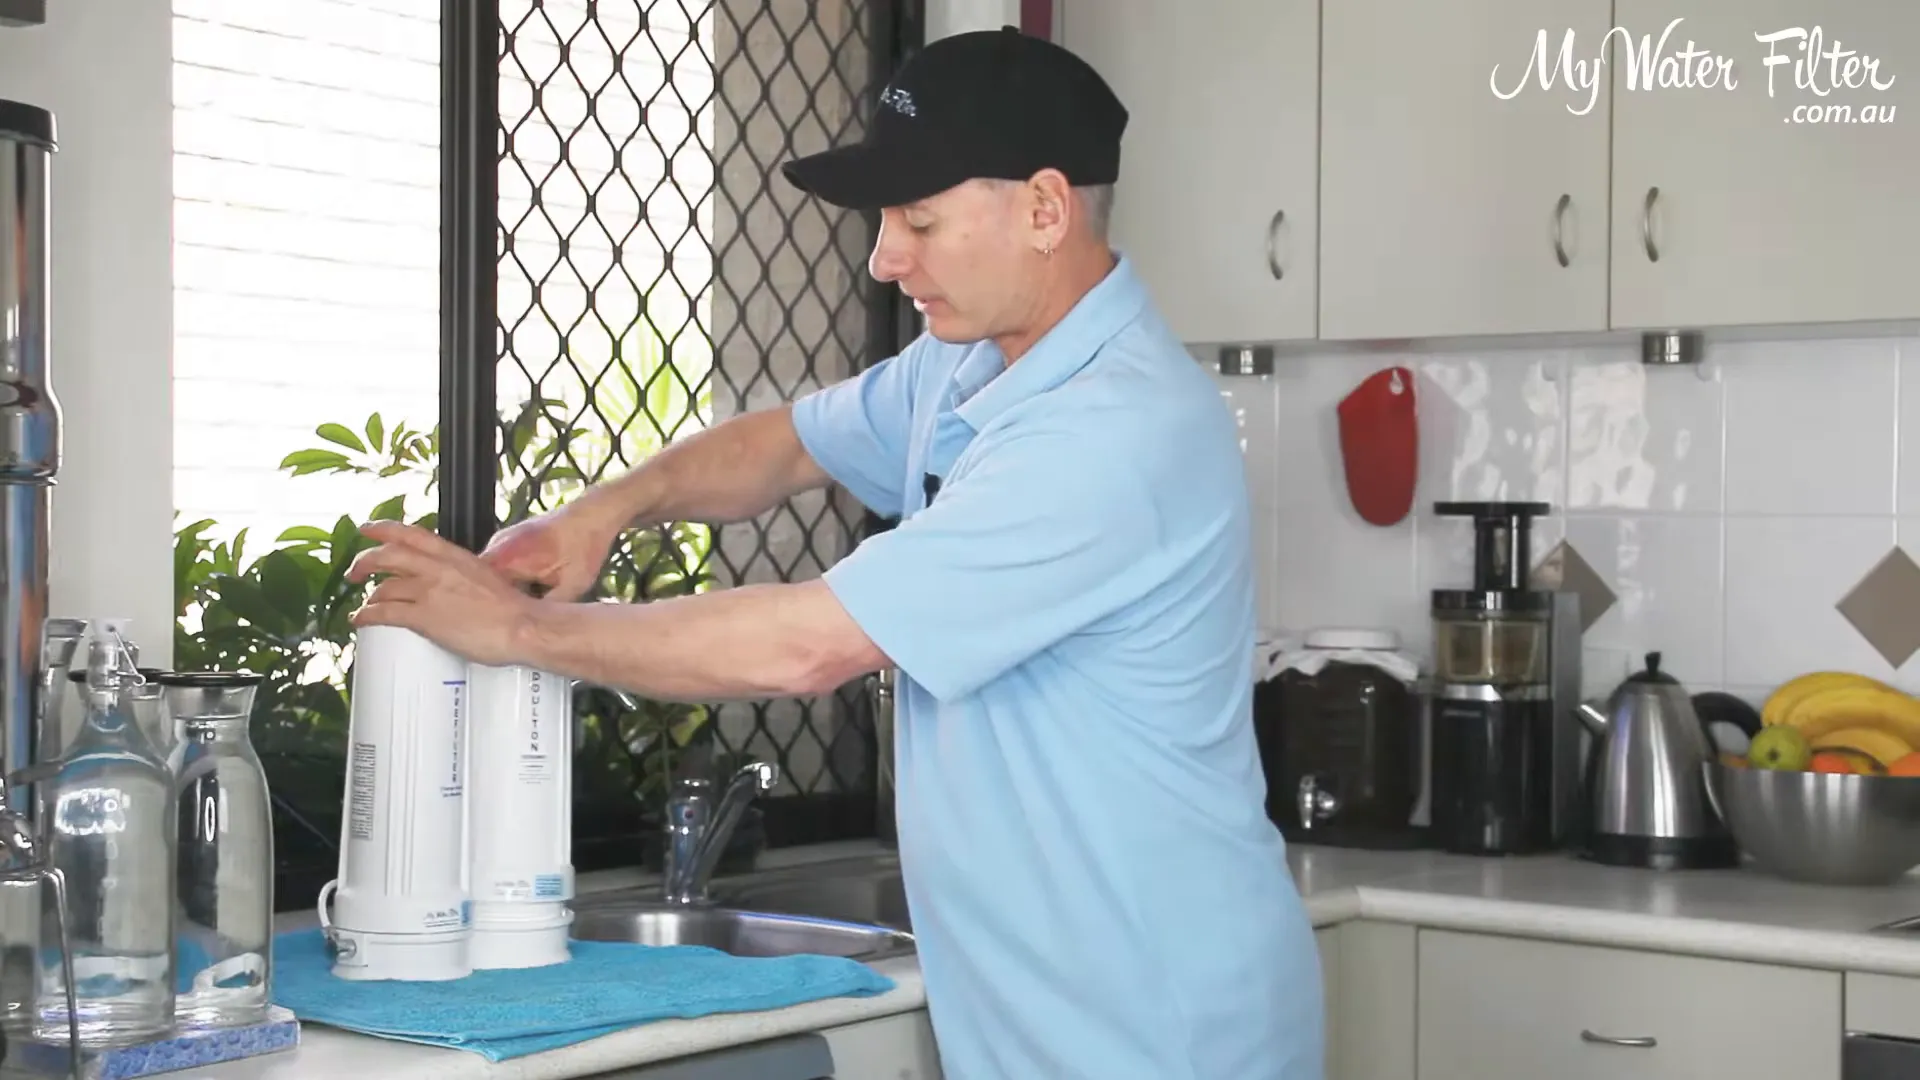
Pay attention to the ends of the cartridge where the washers are located. Ensure that they are intact and free from any debris. If you spot any issues, take a photograph and contact us immediately for assistance.
Once you have confirmed that the cartridge is in good condition, you can proceed to reinsert it into the housing. Ensure it is seated securely to avoid any leaks during operation.
Reassembling the Filter Housing
With the cartridge inspected and deemed satisfactory, it is time to reassemble the filter housing. Carefully place the cartridge back into its designated slot, ensuring it aligns correctly with the housing.
Once in position, secure the housing by tightening it with your hand first. Following this, utilise the housing tool to give it a gentle nudge for a snug fit, but avoid overtightening as this may cause damage.
It is important to ensure that all components are properly aligned and secured before moving on to the next steps. A well-assembled filter housing is crucial for optimal performance and longevity of the filtration system.
Connecting the Filter to the Tap
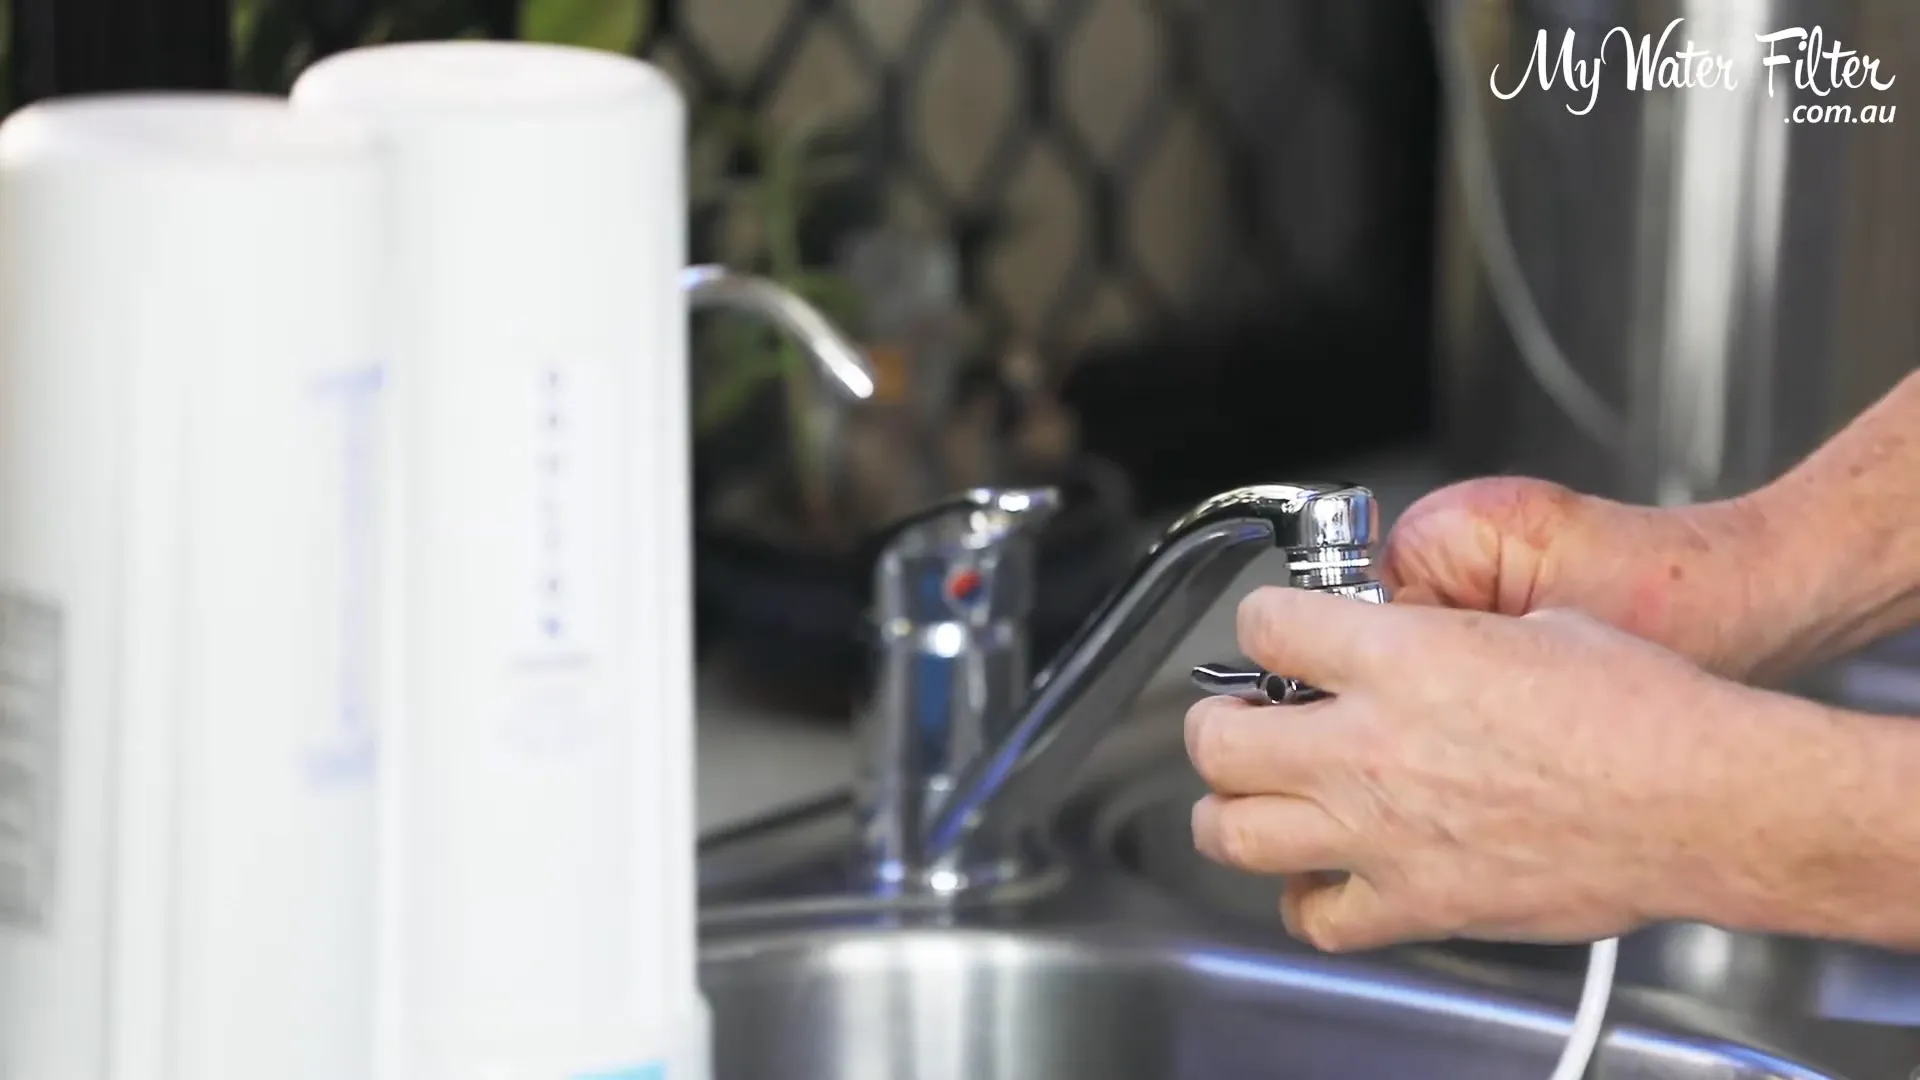
Next, we will connect the filter to your kitchen tap. Begin by removing the aerator from the tap spout. This may require a tool if it is tightly secured.
Once the aerator is off, you will be left with a female thread where the diverter will attach. Use the double male adapter provided in your installation kit. Insert the small rubber washer into the adapter to ensure a proper seal.
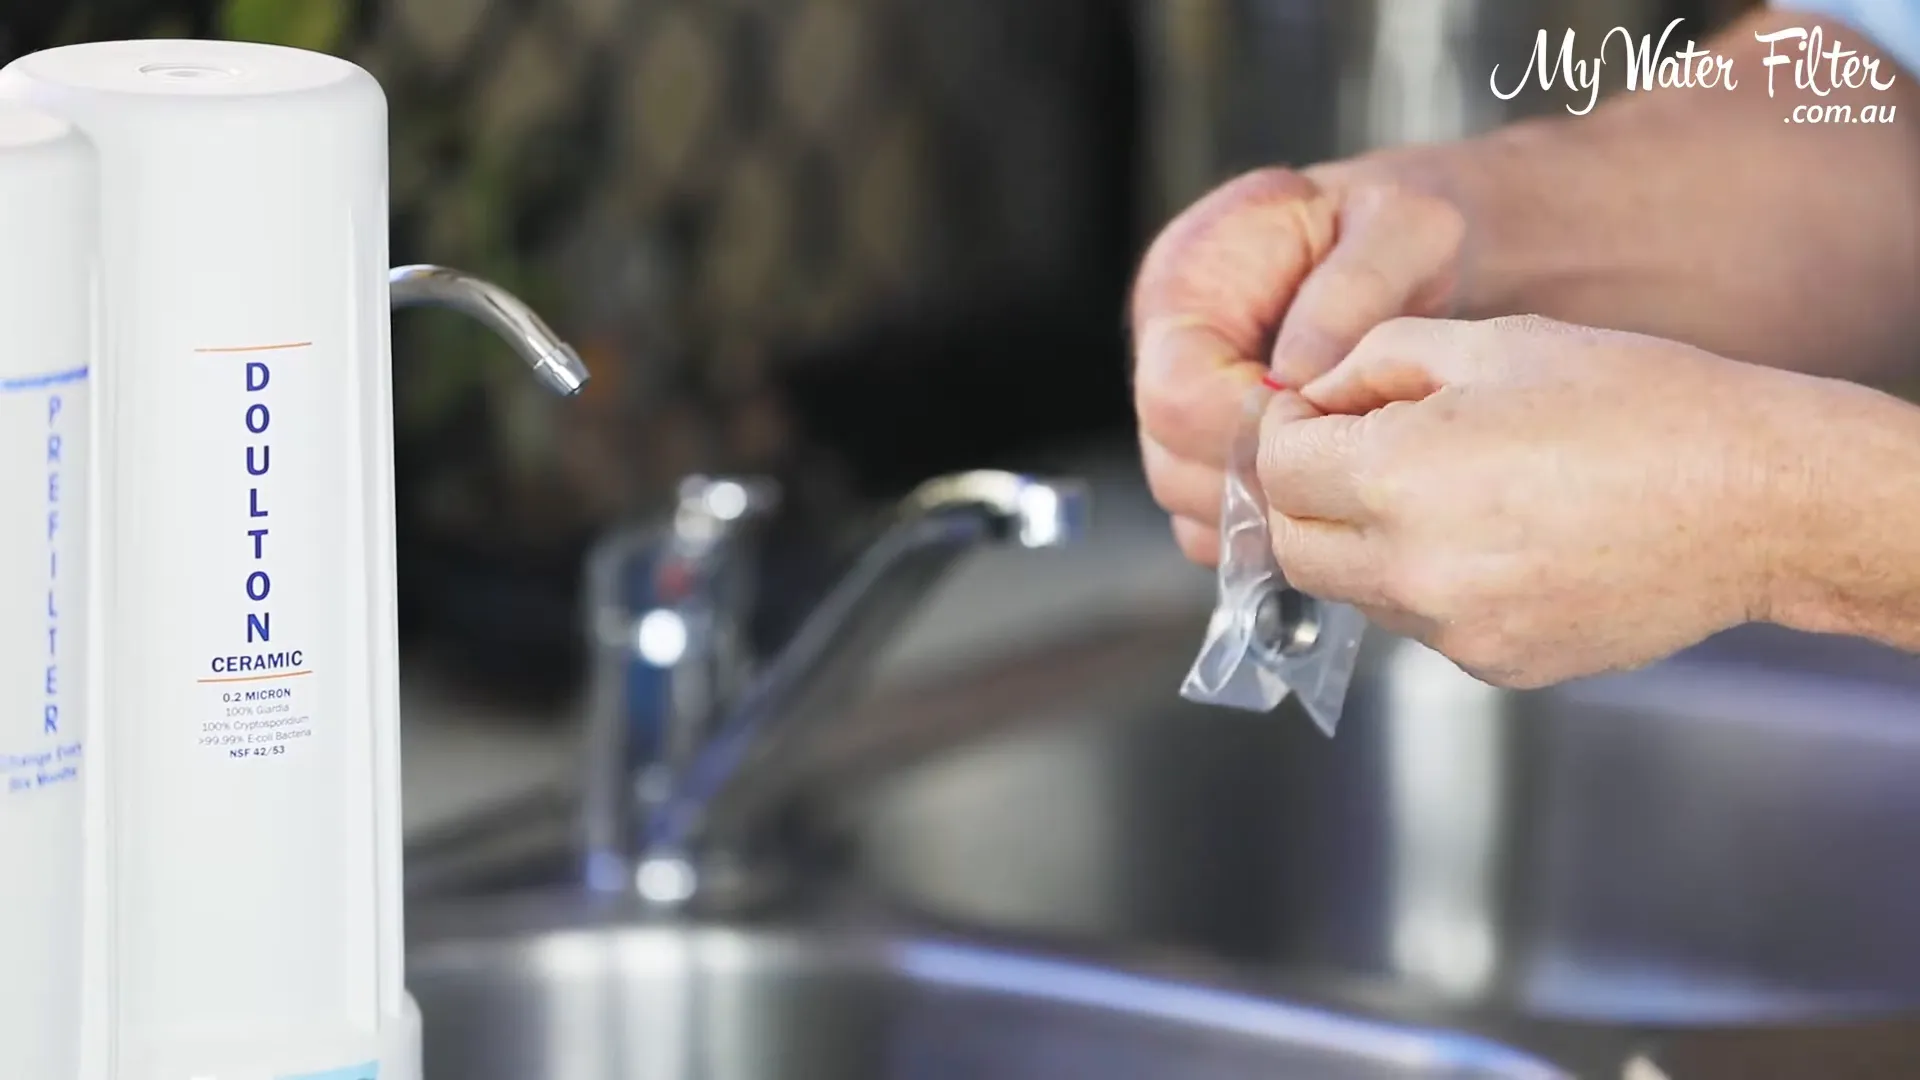
With the washer in place, screw the adapter onto the tap's female thread. If necessary, apply a small amount of thread tape to enhance the seal and prevent leaks. Ensure it is tightened adequately but take care not to overtighten, which could lead to damage.
After securing the adapter, attach the diverter to the top. Again, ensure that a rubber washer is in place to maintain an airtight seal.
Flushing the Water Filter
Once the filter is connected, it is crucial to flush the system before use. This step removes any residual carbon dust from the Doulton Ultracarb cartridge that may have settled during shipping and installation.
To flush the filter, turn on the water supply. Allow the water to flow through the system for a full five minutes. Initially, you may notice discoloured water due to the activated carbon; this is perfectly normal.
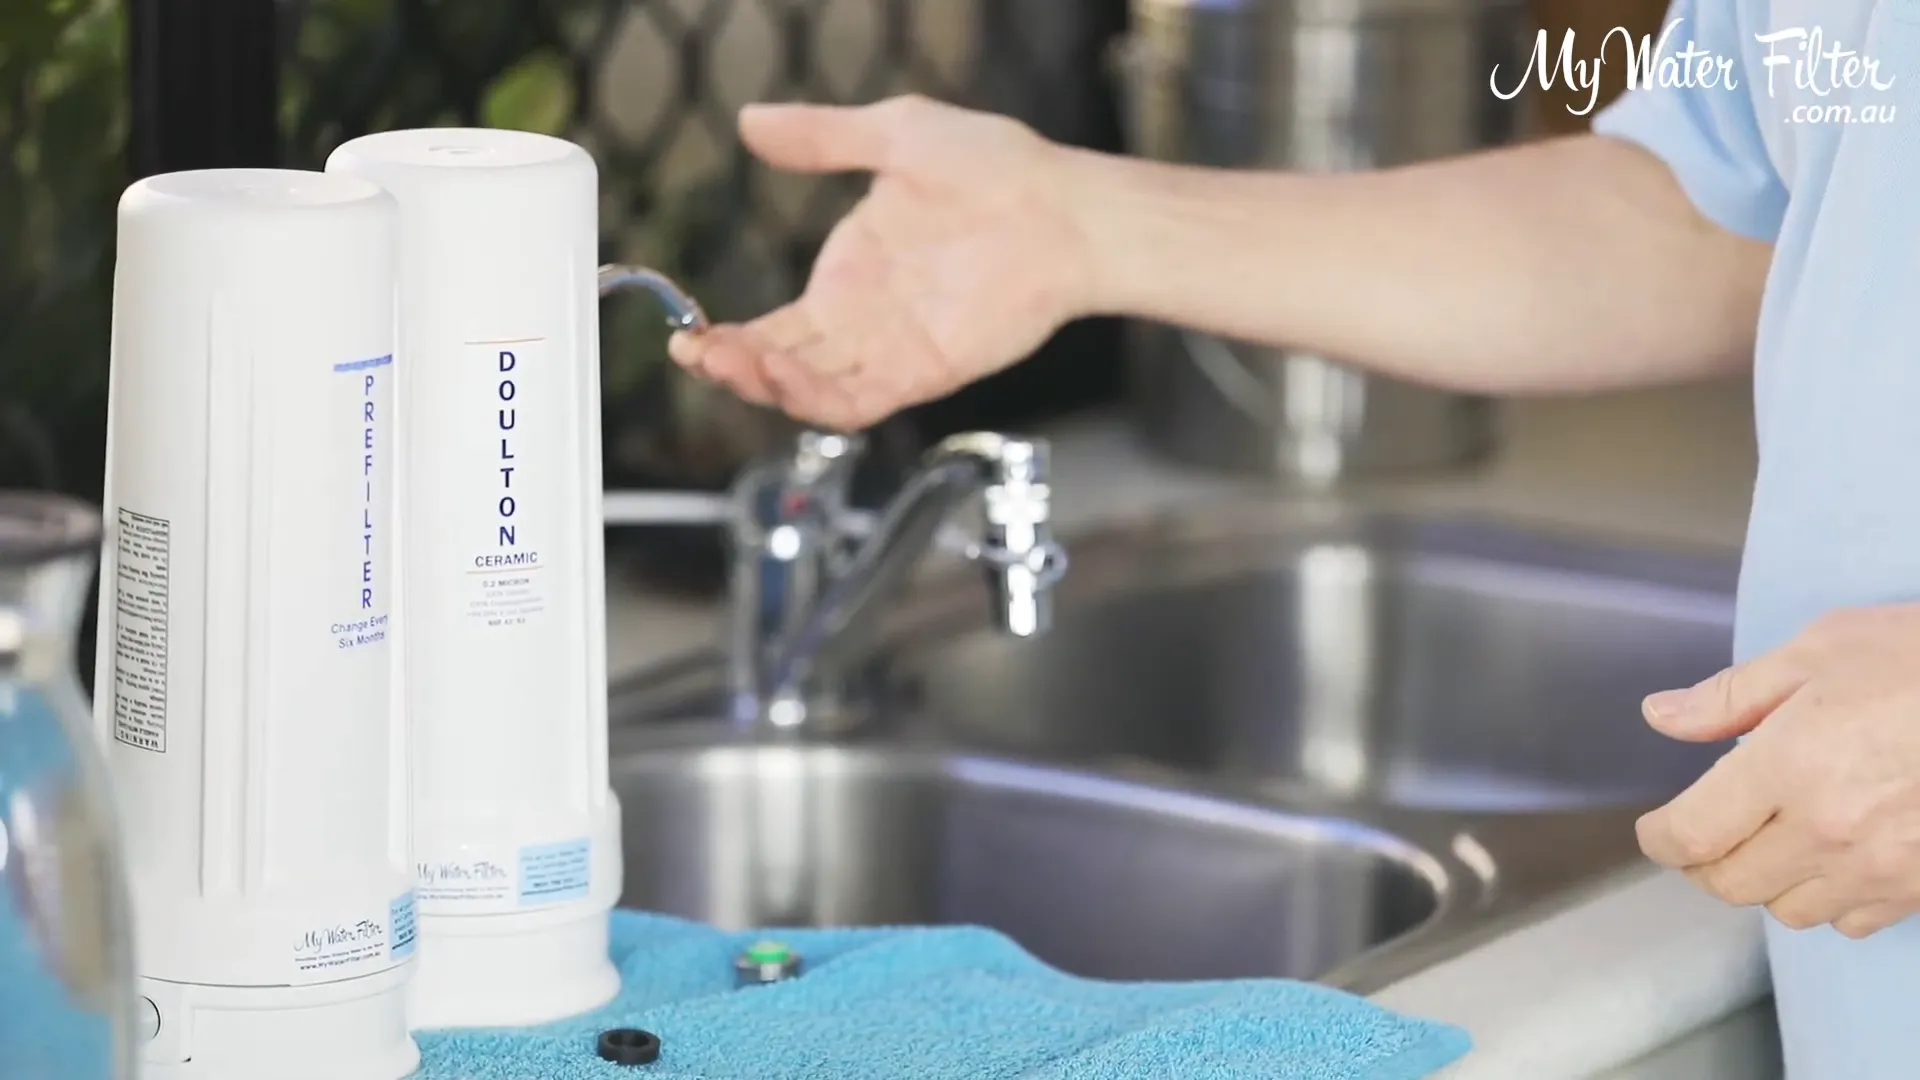
During this period, collect the water in a container if desired, as it can be used for watering plants. Once the five minutes have elapsed, turn off the water and allow the filter to settle. It is advisable to run the filter again for three minutes the following morning to ensure optimal performance.
Final Steps and Maintenance Tips
After flushing, your Doulton Ultracarb Twin Benchtop Water Filter is ready for use. Enjoy the peace of mind that comes with having clean, filtered water at your disposal.
To maintain your filter, regularly inspect the cartridges. The Doulton Ultracarb cartridge typically has a lifespan of up to 12 months, depending on usage and water quality. Be attentive to any changes in water flow or taste, as these may indicate the need for replacement.
In addition to monitoring the cartridge, ensure the filter housing remains clean and free from debris. Wipe down the exterior periodically to maintain hygiene. Following these maintenance tips will prolong the life of your water filter and ensure you continue to enjoy high-quality drinking water.
Frequently Asked Questions
How often should I replace the Doulton Ultracarb cartridge?
The cartridge should be replaced approximately every 12 months, depending on your water usage and quality. Regularly check for any signs of wear or reduced flow.
What should I do if my filter is leaking?
If you notice any leaks, first check all connections to ensure they are tight. If the problem persists, inspect the rubber washers for damage or wear. Replacing a worn washer often resolves the issue.
Is it necessary to flush the filter before first use?
Yes, flushing the filter is essential to remove any carbon dust and ensure optimal performance. It is a simple step that significantly enhances the filter's efficiency.
Product Update
My Water Filter no longer stocks the Doulton Ultracarb Twin Benchtop Water Filter with Sediment Protection. We recommend the ULTRAPURE Aragon 10" Twin Benchtop Water Filter with Sediment Protection as the best alternative.
For any further questions or concerns, do not hesitate to contact us.


![[VIDEO] How to Install and Flush your Doulton Ultracarb Twin Benchtop Water Filter w/ Sediment Protection](http://mywaterfilter.com.au/cdn/shop/articles/1d194d11190615daca13b20b02342758.jpg?v=1723475596&width=1920)
