In this article, you’ll learn how to Install a UV Light System for a Whole House Water Filter.
Before you start
Make sure all the parts are there and plug the UV light in to ensure it wasn’t broken in transit from the factory to your place.
In this video, discover the step-by-step installation of a UV Light System for Whole House Rain Water Tank Water Filter System. Learn how to securely mount the stainless steel chamber, properly connect the pipework, and ensure optimal water flow to maximise UV performance. Perfect for twin or triple filter setups, this guide ensures your UV filter is ready to provide clean, safe water throughout your home.
Step 1: Mount Your UV Light
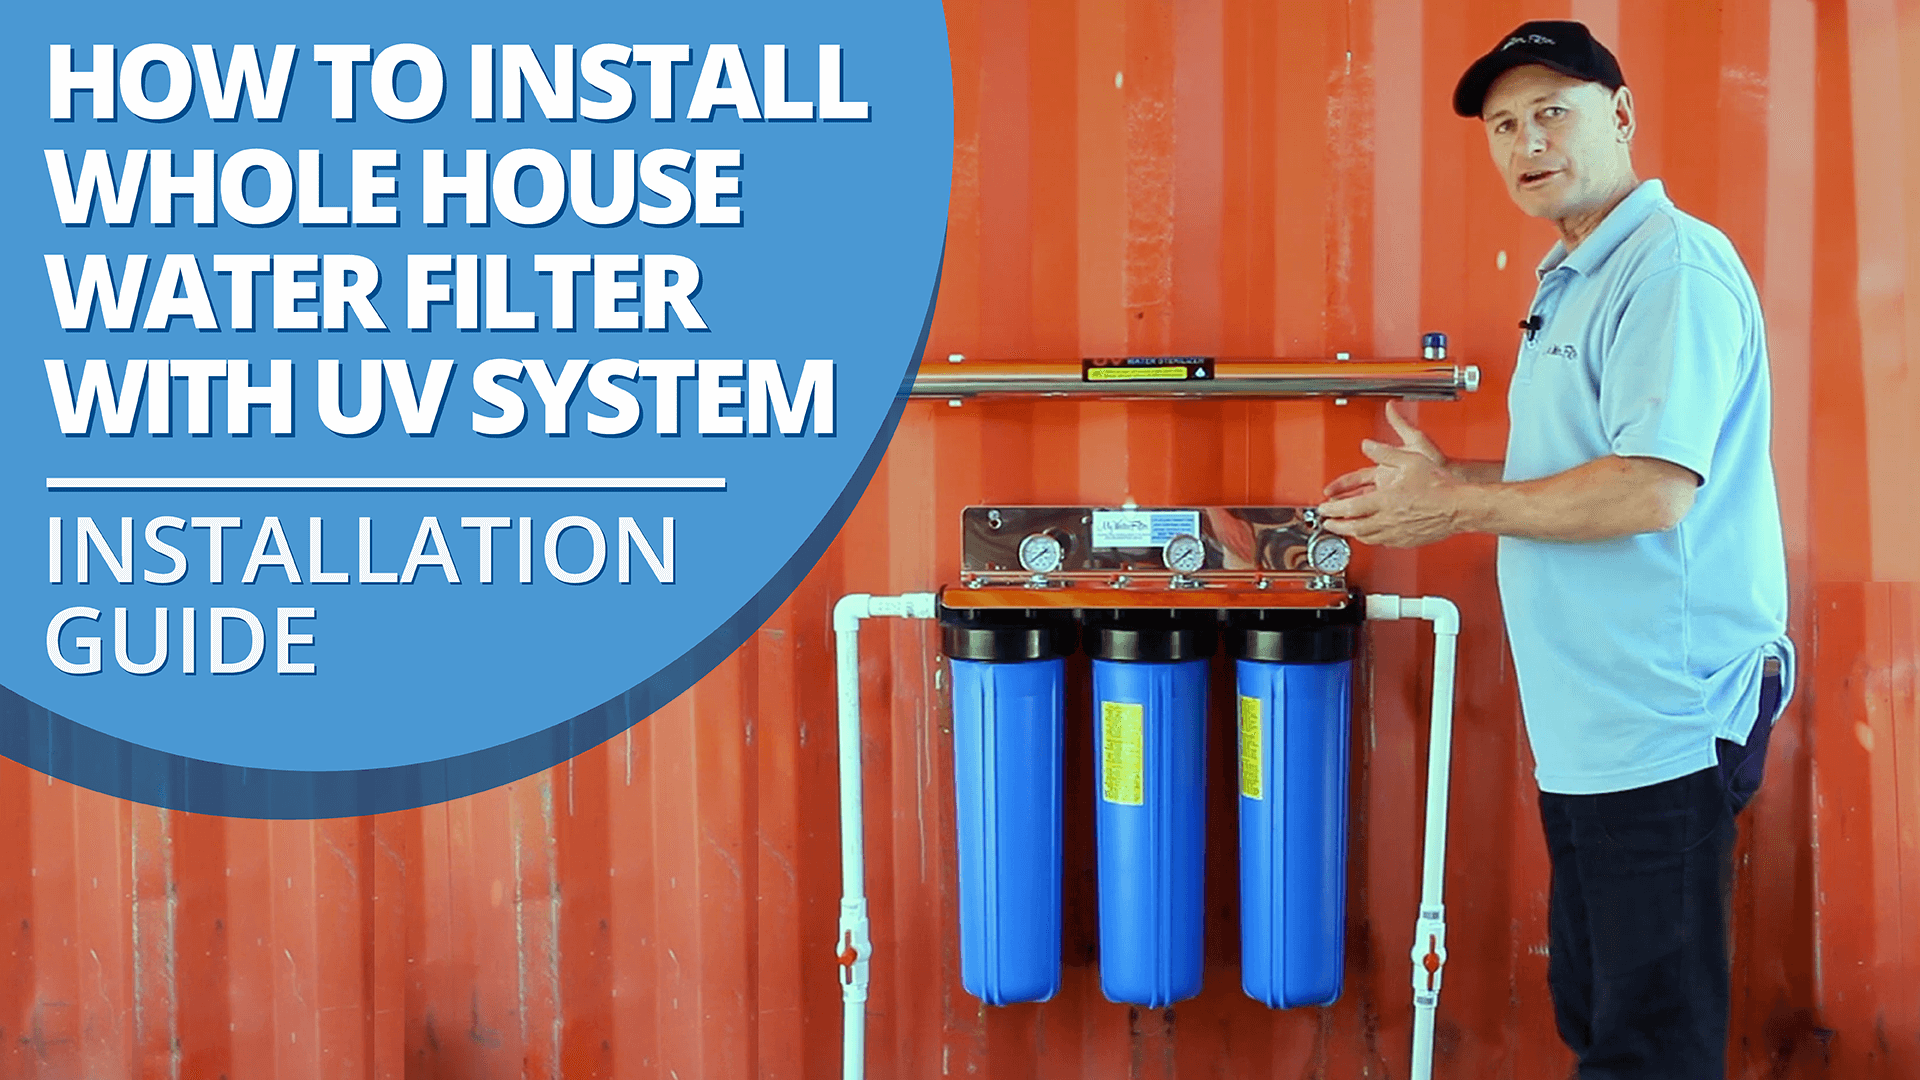
- Unpack the holding clips that hold the stainless steel housing on the wall.
- Get a TEK gun, and screw the holding clips straight into the wall you are installing your system on.
- Click the stainless steel UV light unit into the secured holders on the wall and lock it in.
The manufacturers recommend mounting your UV light immediately above the water filter.

Step 2: Connect Up The Pipework
- Wrap 8 wraps of thread tape around the thread on each end of your UV light system.
- Follow the instructions in the video above from [3:55] to complete the installation of all of the pipework.
- Screw your pipe fittings into the top of your UV system
Note: You need to make sure you install a bypass, which means you can bypass your water filter anytime you need to run water through the house bypassing the water filter - this is helpful when you are changing the cartridges in your water filter.

Step 3: Install The UV Sleeve And Check For Leaks
WE URGE YOU TO USE GLOVES WHEN HANDLING THE GLASS SLEEVE
- Remove the glass sleeve from the packaging and ensure there is no damage to it. Be careful when you are handling the sleeve, they’re glass, and they do break.
- Gently slide the glass sleeve into the chamber, using the finger to centralise the sleeve on the other end evenly.
- Slide the O-rings onto each end of the glass carefully.
- Screw the nuts on each end of your sleeve, doing them up as tight as you can by hand.
- Turn on the water and get it up to full pressure to test for any leaks.
If you’ve got no leaks, it’s time to install the globe.

Step 4: Install the UV Globe (Lamp) and electrical components
- Unpack the globe and use gloves for the next step.
- Slide the globe into the system.
- Connect the controller to the end of the globe, push the globe inside the system and put the rubber cap on the end.
- Connect the earth wire and tighten it on with the nut.
- Plug in the electric cable and switch it on.
You’ll see the green light go on, and that means the UV light is on inside and beginning to treat any water going through the system.

Mounting The Controller
Take careful note of the mounting instructions for your controller. We don’t want any water going into your electrical controller, so these instructions are important.

Now the job is done, and it’s time for a drink. You’ve done well.
If you have any questions or concerns, please contact us.
We’d be delighted to help.